Air Force Museum
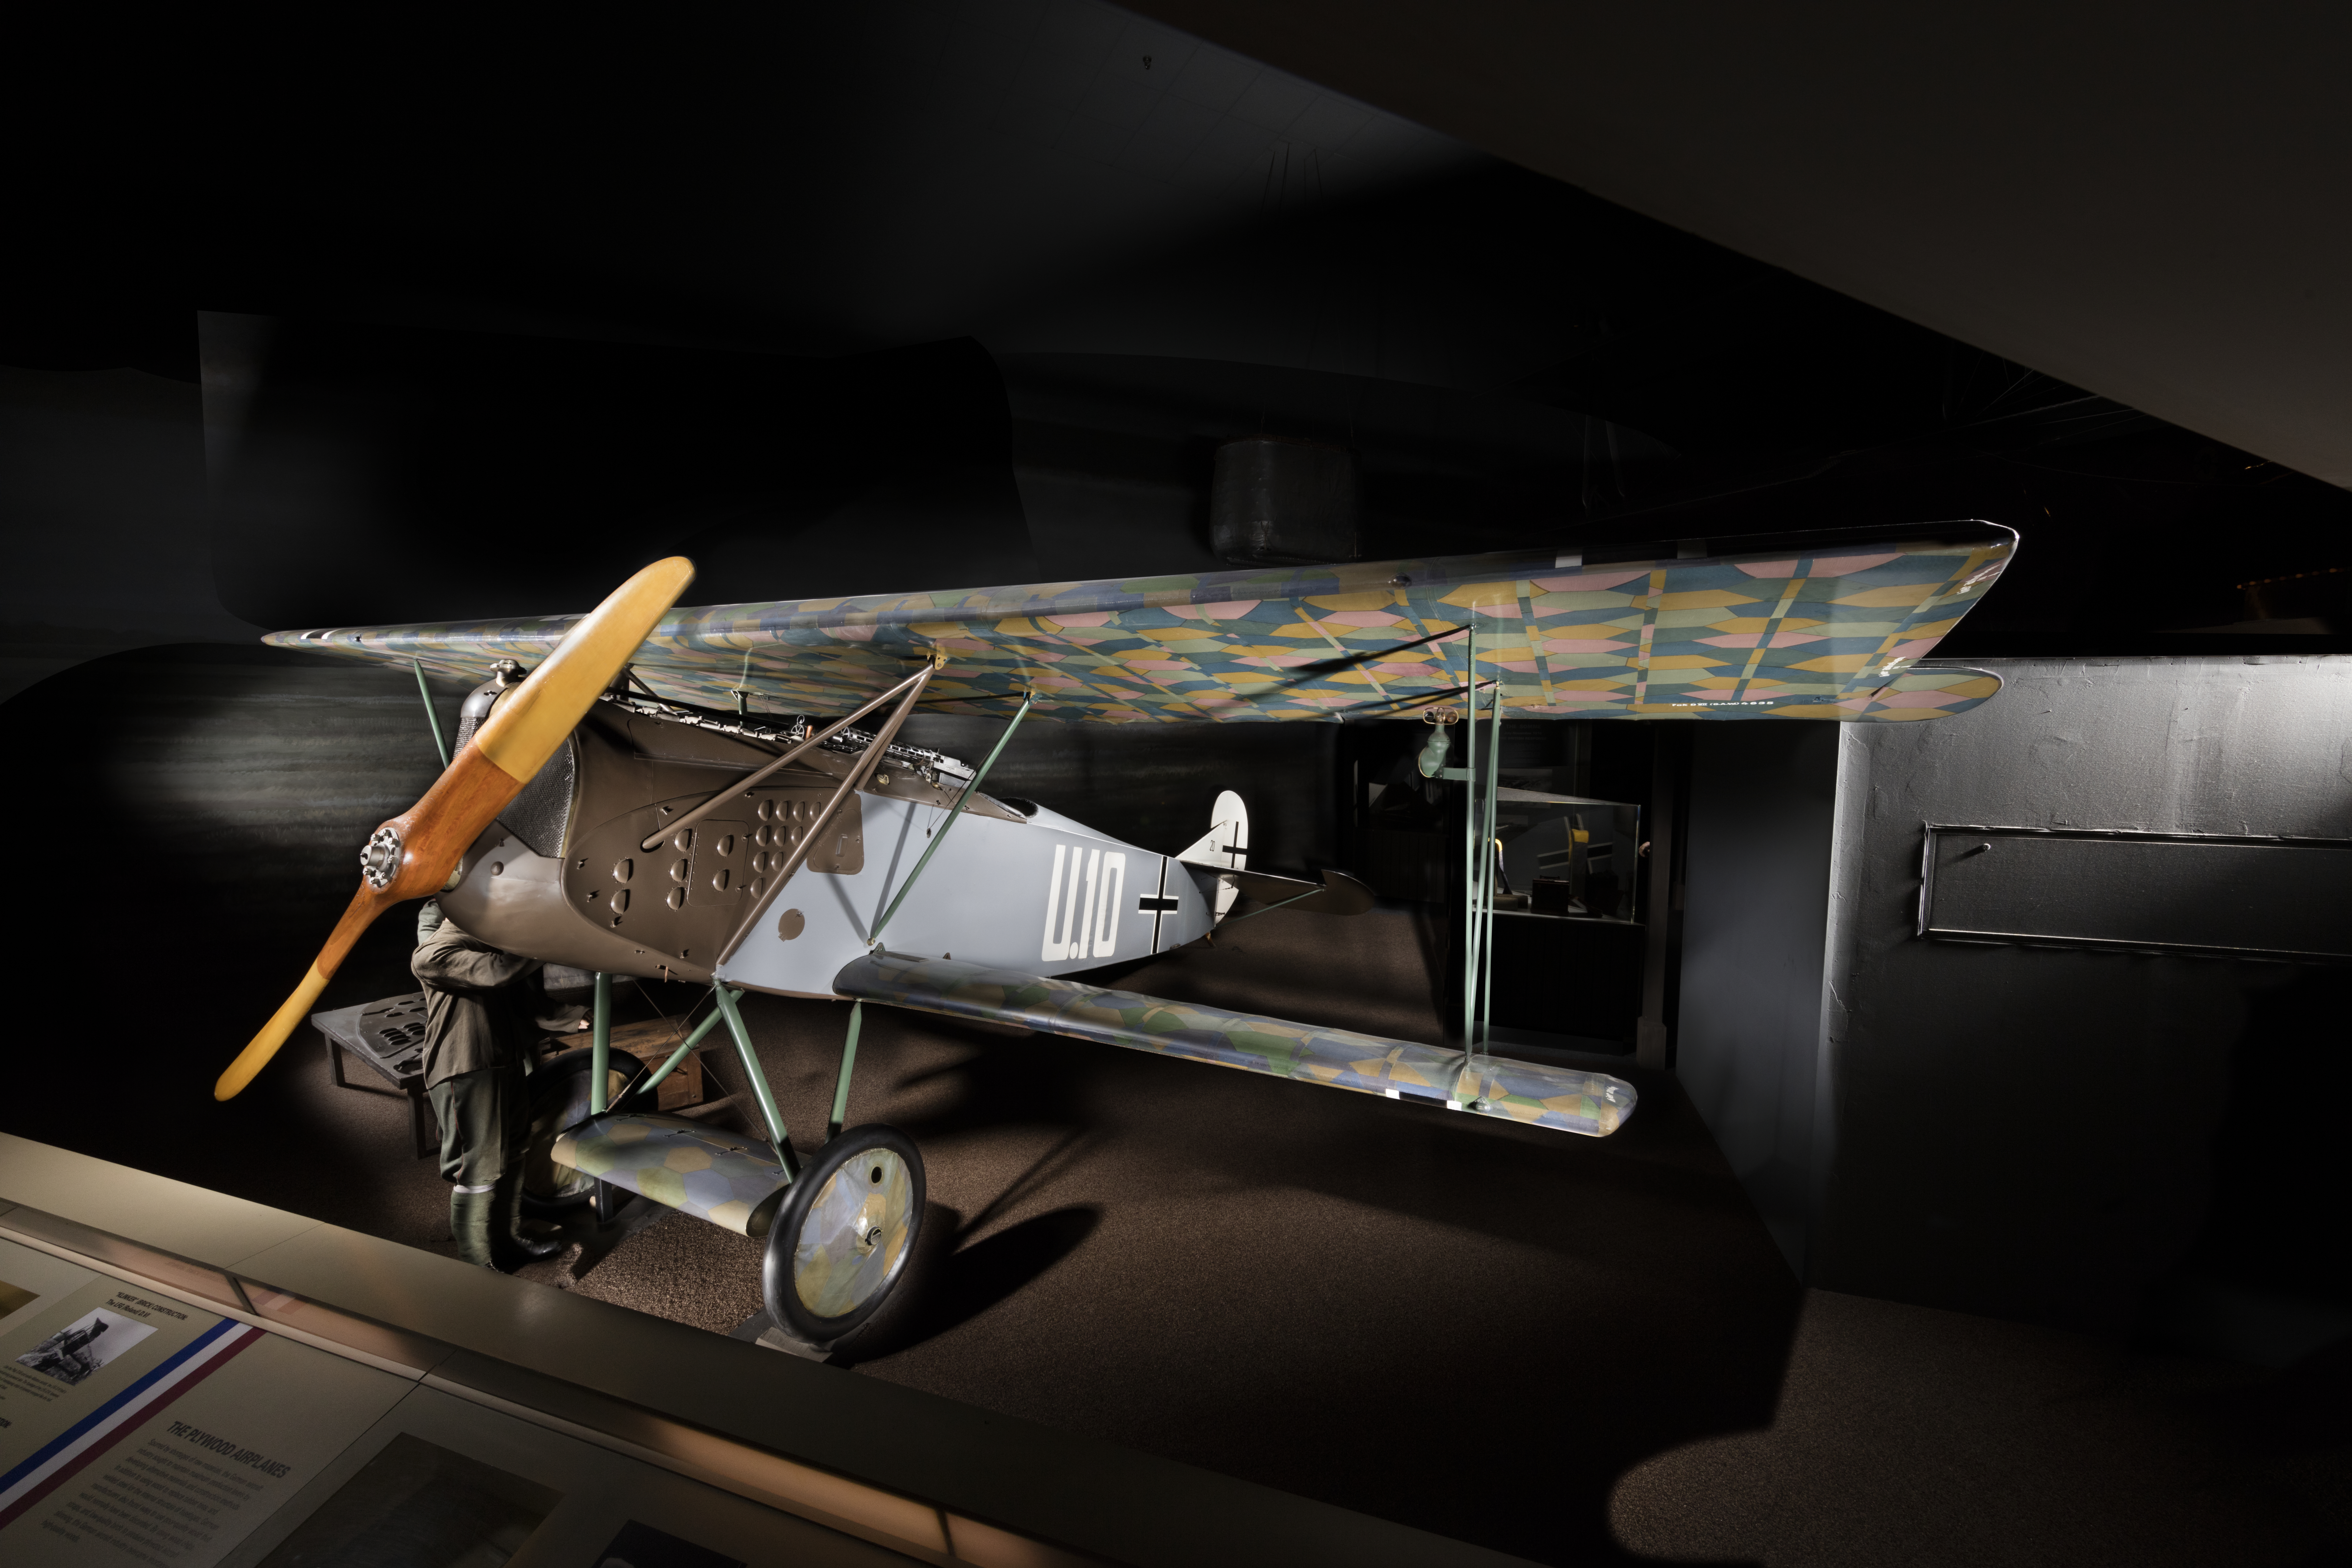
Fokker D. VII
The Fokker D. VII combined excellent climb, controllable low-speed behavior, and a thick cantilever-like wing that needed less external bracing than many contemporaries. It entered combat in 1918 and quickly earned the confidence of German pilots.
In depth
Performance at the end of the war
The type's reputation was strong enough that the Armistice specifically required Germany to surrender D. VIIs. Its late arrival also illustrates a recurring problem in technology history: an important design may appear only briefly before the political setting that created it disappears.
History & service
First appearing entering combat in May 1918, the Fokker D. VII quickly showed its superior performance over Allied fighters. With its high rate of climb, higher ceiling and excellent handling characteristics, German pilots scored a remarkable 565 victories over Allied aircraft during the month of August alone.
Designed by Reinhold Platz, the prototype of the D. VII flew in a competition against other new fighter aircraft in early 1918. After Baron Manfred von Richthofen, the famous Red Baron, flew the prototype and enthusiastically recommended it, the D. VII was chosen for production. To achieve higher production rates, Fokker, the Albatross company and the Allgemeine Elektrizitats Gesellschaft (AEG) all built the D. VII. By war's end in November 1918, these three companies had built more than 1,700 aircraft.
The reproduction aircraft on display is painted to represent the Fokker D. VII of Lt. Rudolph Stark, a squadron leader of Jasta (Fighter Squadron) 35b in October 1918. It was placed on exhibit in May 1996.
Details that tell the story
Entered combat in May 1918 · Known for climb and high-altitude handling · Used a thick wing with limited external bracing · Specifically named in the Armistice surrender terms
The aircraft in figures
Armament: Two 7.92 Spandau machine guns · Engine: Mercedes 160 hp or BMW 185 hp · Maximum speed: 120 mph (Mercedes engine); 124 mph (BMW engine) · Ceiling: 18,000 ft. (Mercedes engine); 21,000 ft. (BMW engine) · Span: 29 ft. 3.5 in. · Length: 22 ft. 11.5 in. · Height: 9 ft. 2.5 in. · Weight: 1,540 lbs. empty; 1,939 lbs. loaded
Performance was only part of the contest
A fighter's speed, climb, range, visibility, and armament shaped what it could do, but those qualities did not act alone. Training, tactics, warning systems, maintenance, fuel, and the condition of the airfield influenced every encounter. The aircraft that looks best in a table might be at a disadvantage at the wrong altitude, carrying the wrong load, or arriving with too little fuel to remain in the fight.
Escort missions demonstrate the importance of purpose. A fighter defending bombers had responsibilities beyond pursuing an opponent. It needed sufficient range, a useful position, and the discipline to remain with the force it protected. Ground attack imposed different demands, including visibility, endurance near the target, and the ability to survive damage from below.
Comparing aircraft across museums is most rewarding when the mission remains in view. An early pursuit biplane, a wartime piston fighter, and a Cold War jet represent different technologies, but all were part of a larger operational system. Personal accounts reveal how pilots worked within those limits. They also show why claims of individual success need context: weather, surprise, teamwork, and opportunities created by others shaped the outcome. The aircraft provides the physical evidence; the surrounding stories explain how people used it and what that use cost.